Team & crews
Invite your team, set what they can do, and group techs into crews.
This page covers how to invite people to your Zoop account, control what they can do, and group them into crews for easy job assignment.
Team management lives under Team in the sidebar. From here you invite teammates, change their roles, and organize them into crews.
Only owners can access the Team and Crews pages. Office and tech members see a "no access" notice if they navigate there directly.
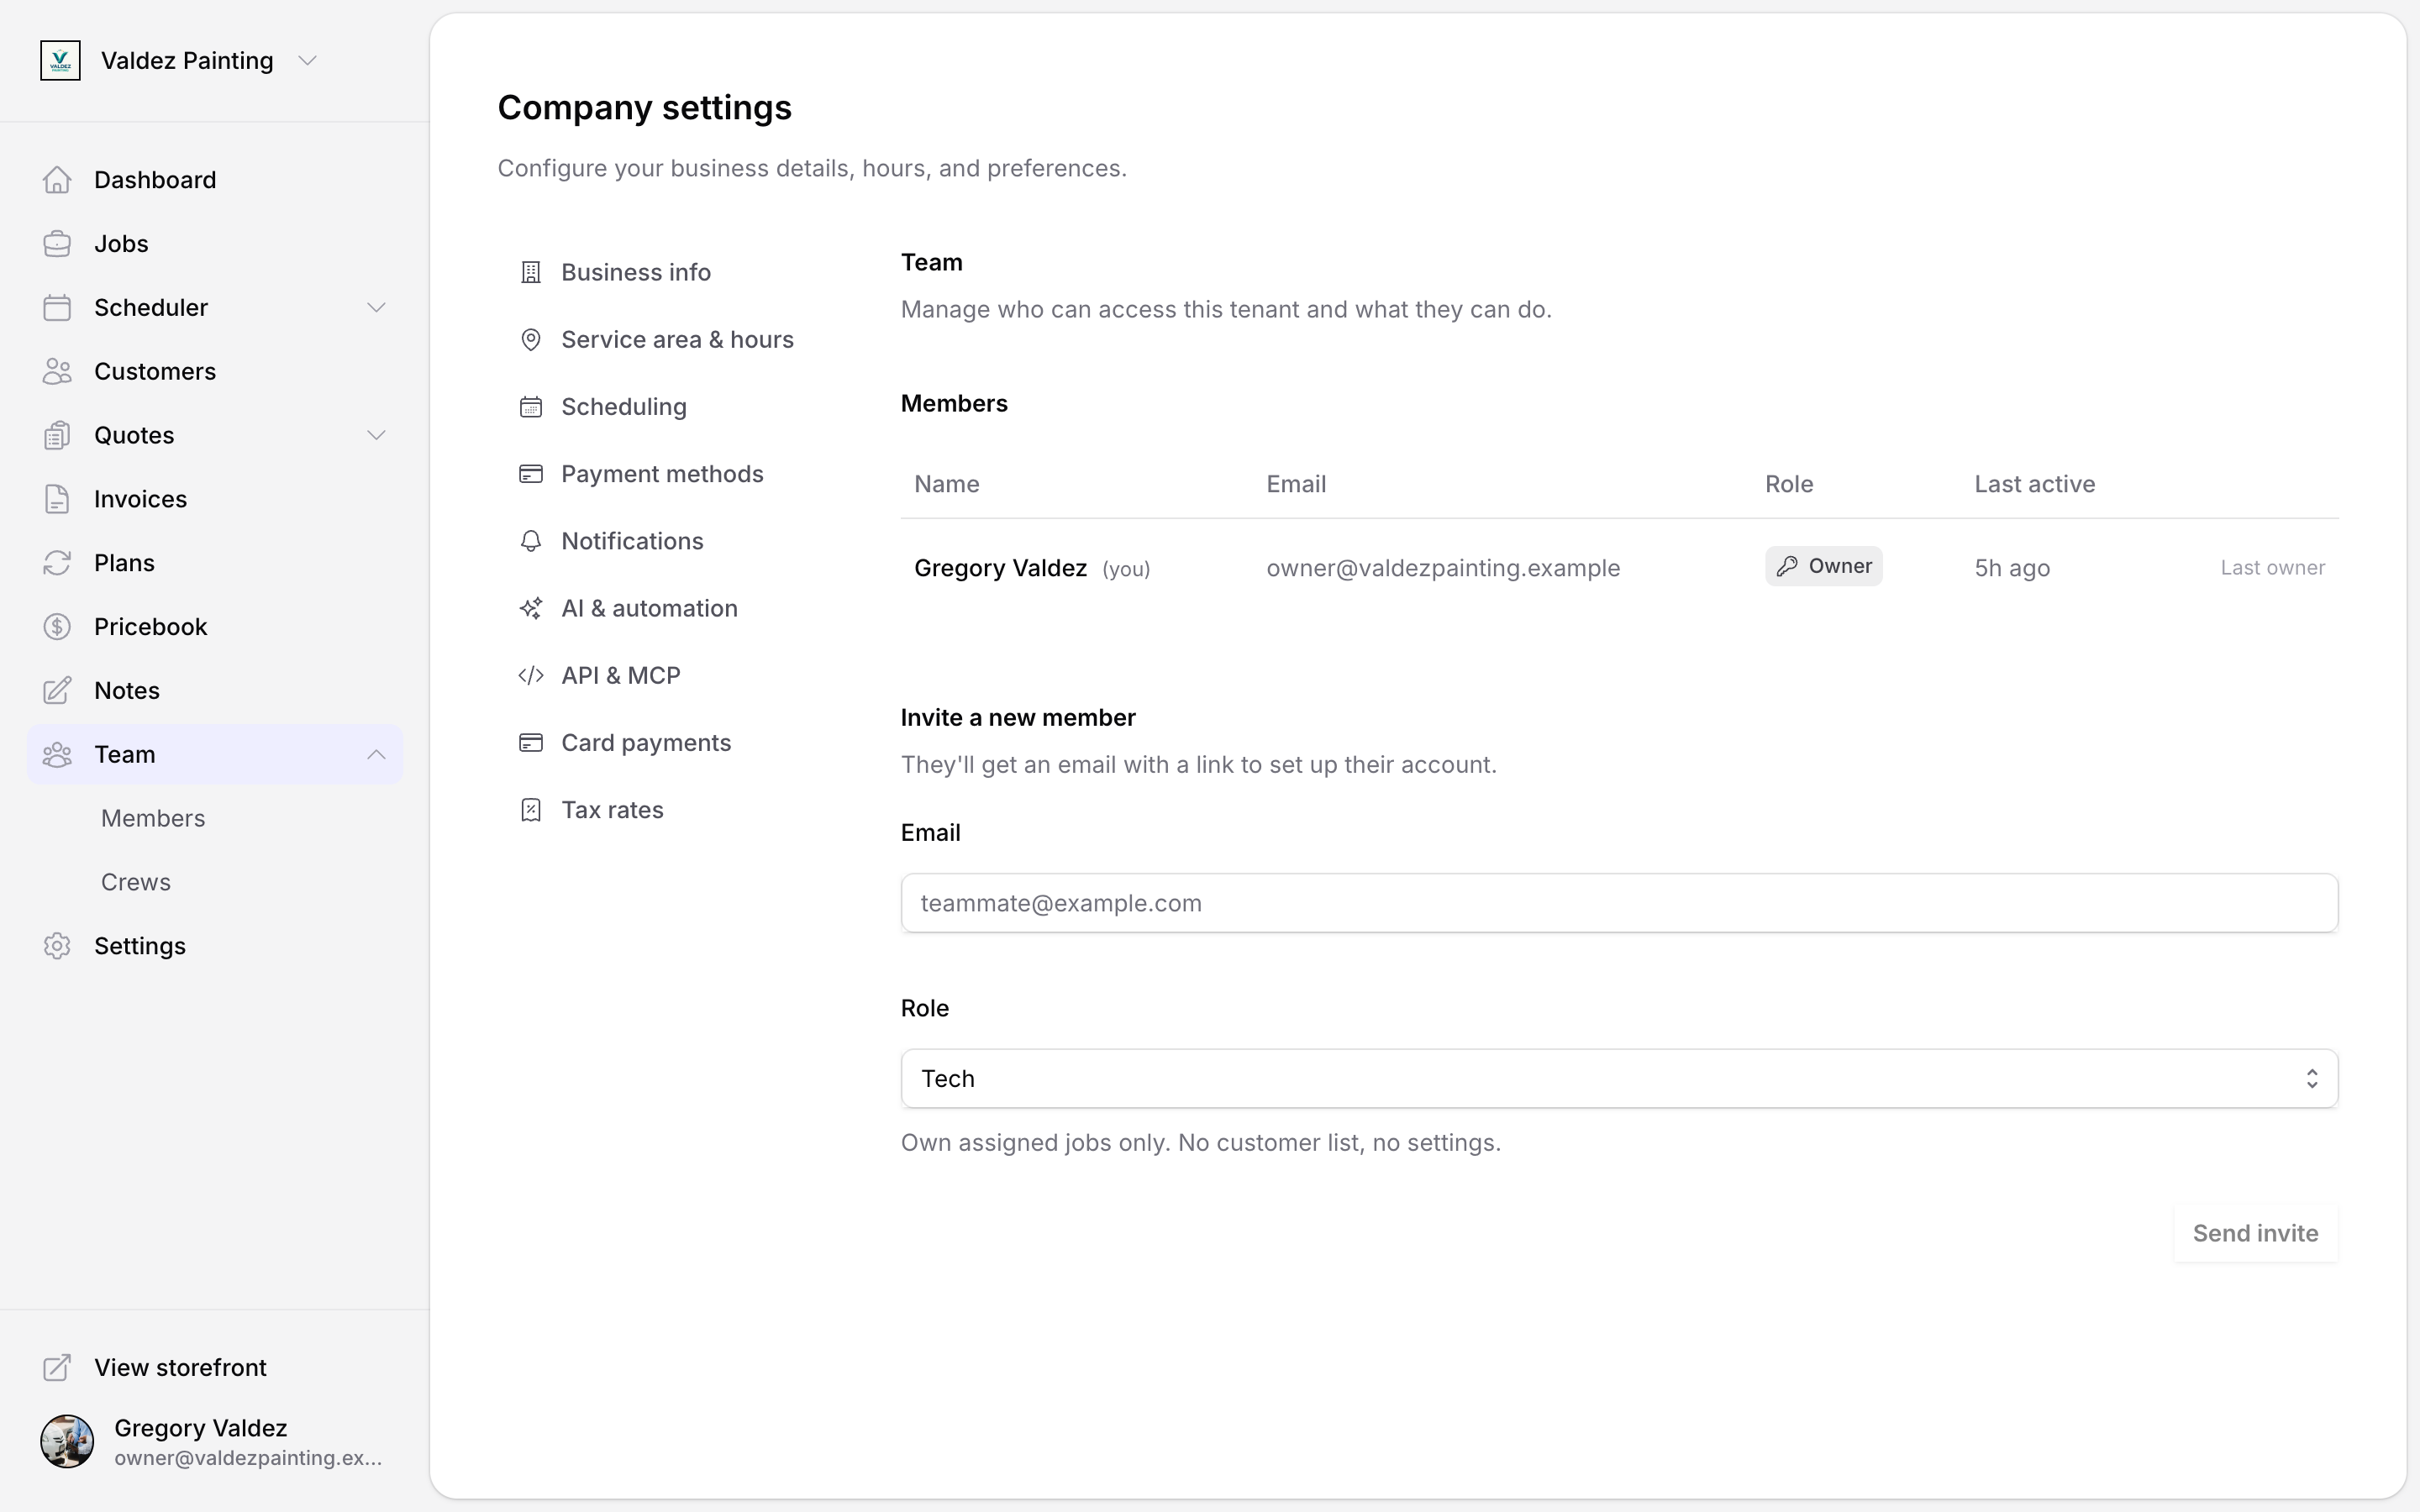
Roles
A role controls what a person can see and do in Zoop. Every person you invite gets exactly one role.
| Role | What they can do |
|---|---|
| Owner | Full access — billing, integrations, team management, and everything below. |
| Office | Operational access — schedule, customers, jobs. No financials, no settings. |
| Tech | Own assigned jobs only. No customer list, no settings. |
The invite form defaults to Tech — the most limited role. Change the role before sending if the person needs broader access.
Every Zoop account must have at least one owner at all times. Zoop prevents you from demoting or removing the last remaining owner.
Invite a teammate
Open Team settings
Select Team in the sidebar. Scroll to the Invite a new member section at the bottom of the page.
Enter their email
Type the person's email address. If they already have a Zoop account, you'll see a note: "Existing Zoop user — they'll skip account creation."
Choose a role
Pick Owner, Office, or Tech. A short description under the dropdown explains what each role can do.
Send the invite
Select Send invite. Zoop emails them a link to accept and set up their account.
The invite appears in the Pending invites section above the member list until the person accepts.
Manage pending invites
Pending invites show the recipient's email, the role they were invited as, who sent the invite, when it was sent, and when it expires.
From the pending-invites table you can:
- Resend — send the invite email again (useful if it landed in spam or the link expired). The expiry resets when you resend.
- Revoke — cancel the invite. The link in the email stops working immediately.
Change a member's role
Find the person in the Members table and use the role dropdown in their row. The change takes effect immediately — no confirmation step. If something goes wrong, Zoop shows an error message and restores the previous role in the table.
You cannot change your own role if you are the only owner of the account.
Remove a member
Select the remove icon (the circle-with-slash) on the member's row and confirm. The person loses access immediately. Their past work stays in Zoop — removing them only stops their access. You can invite them back at any time.
You cannot remove the last owner of the account.
Crews
A crew is a named group of teammates. When you dispatch a job to a crew, all members of that crew are assigned to it — no need to add people one by one.
Crews are managed by selecting Team in the sidebar, then Crews from the submenu.
Create a crew
Open Crews
Select Team in the sidebar, then Crews from the submenu.
Select New crew
Select the New crew button in the top-right corner.
Name the crew
Give it a short name your team will recognise — for example, "Tuesday crew" or "Henderson & Mike". Select Create.
Add or remove crew members
Open manage members
On the crew's row, select the people icon. A dialog opens showing current members and available teammates.
Add a teammate
In the Available teammates section, select the plus icon next to the person's name. They appear in the In this crew list immediately.
Remove a teammate
In the In this crew section, select the minus icon next to the person's name.
Close the dialog
Select Done when finished. Changes are saved as you go — there is no separate save step.
Rename a crew
On the crew's row, select the pencil icon, edit the name, and select Save. The new name appears on any future jobs. Jobs that ran before the rename keep the old name on their history.
Archive a crew
Archiving is safe — it hides a crew from the dispatch picker without deleting any history. Select the circle-with-slash icon on the crew's row and confirm. Jobs that already used the crew keep the crew name in their history.
To see archived crews, turn on the Show archived toggle above the table.
Unarchive a crew
With Show archived enabled, find the crew in the table and select the undo icon. The crew becomes available in the dispatch picker again.
Dispatch a crew to a job
Crew assignment happens from the dispatch board or from the job detail page, not from Settings. Once you have created a crew and added members, the crew name appears in the assignee picker when you schedule or edit a job.