Pricebook
Keep your services, materials, and prices ready to drop into any quote or invoice.
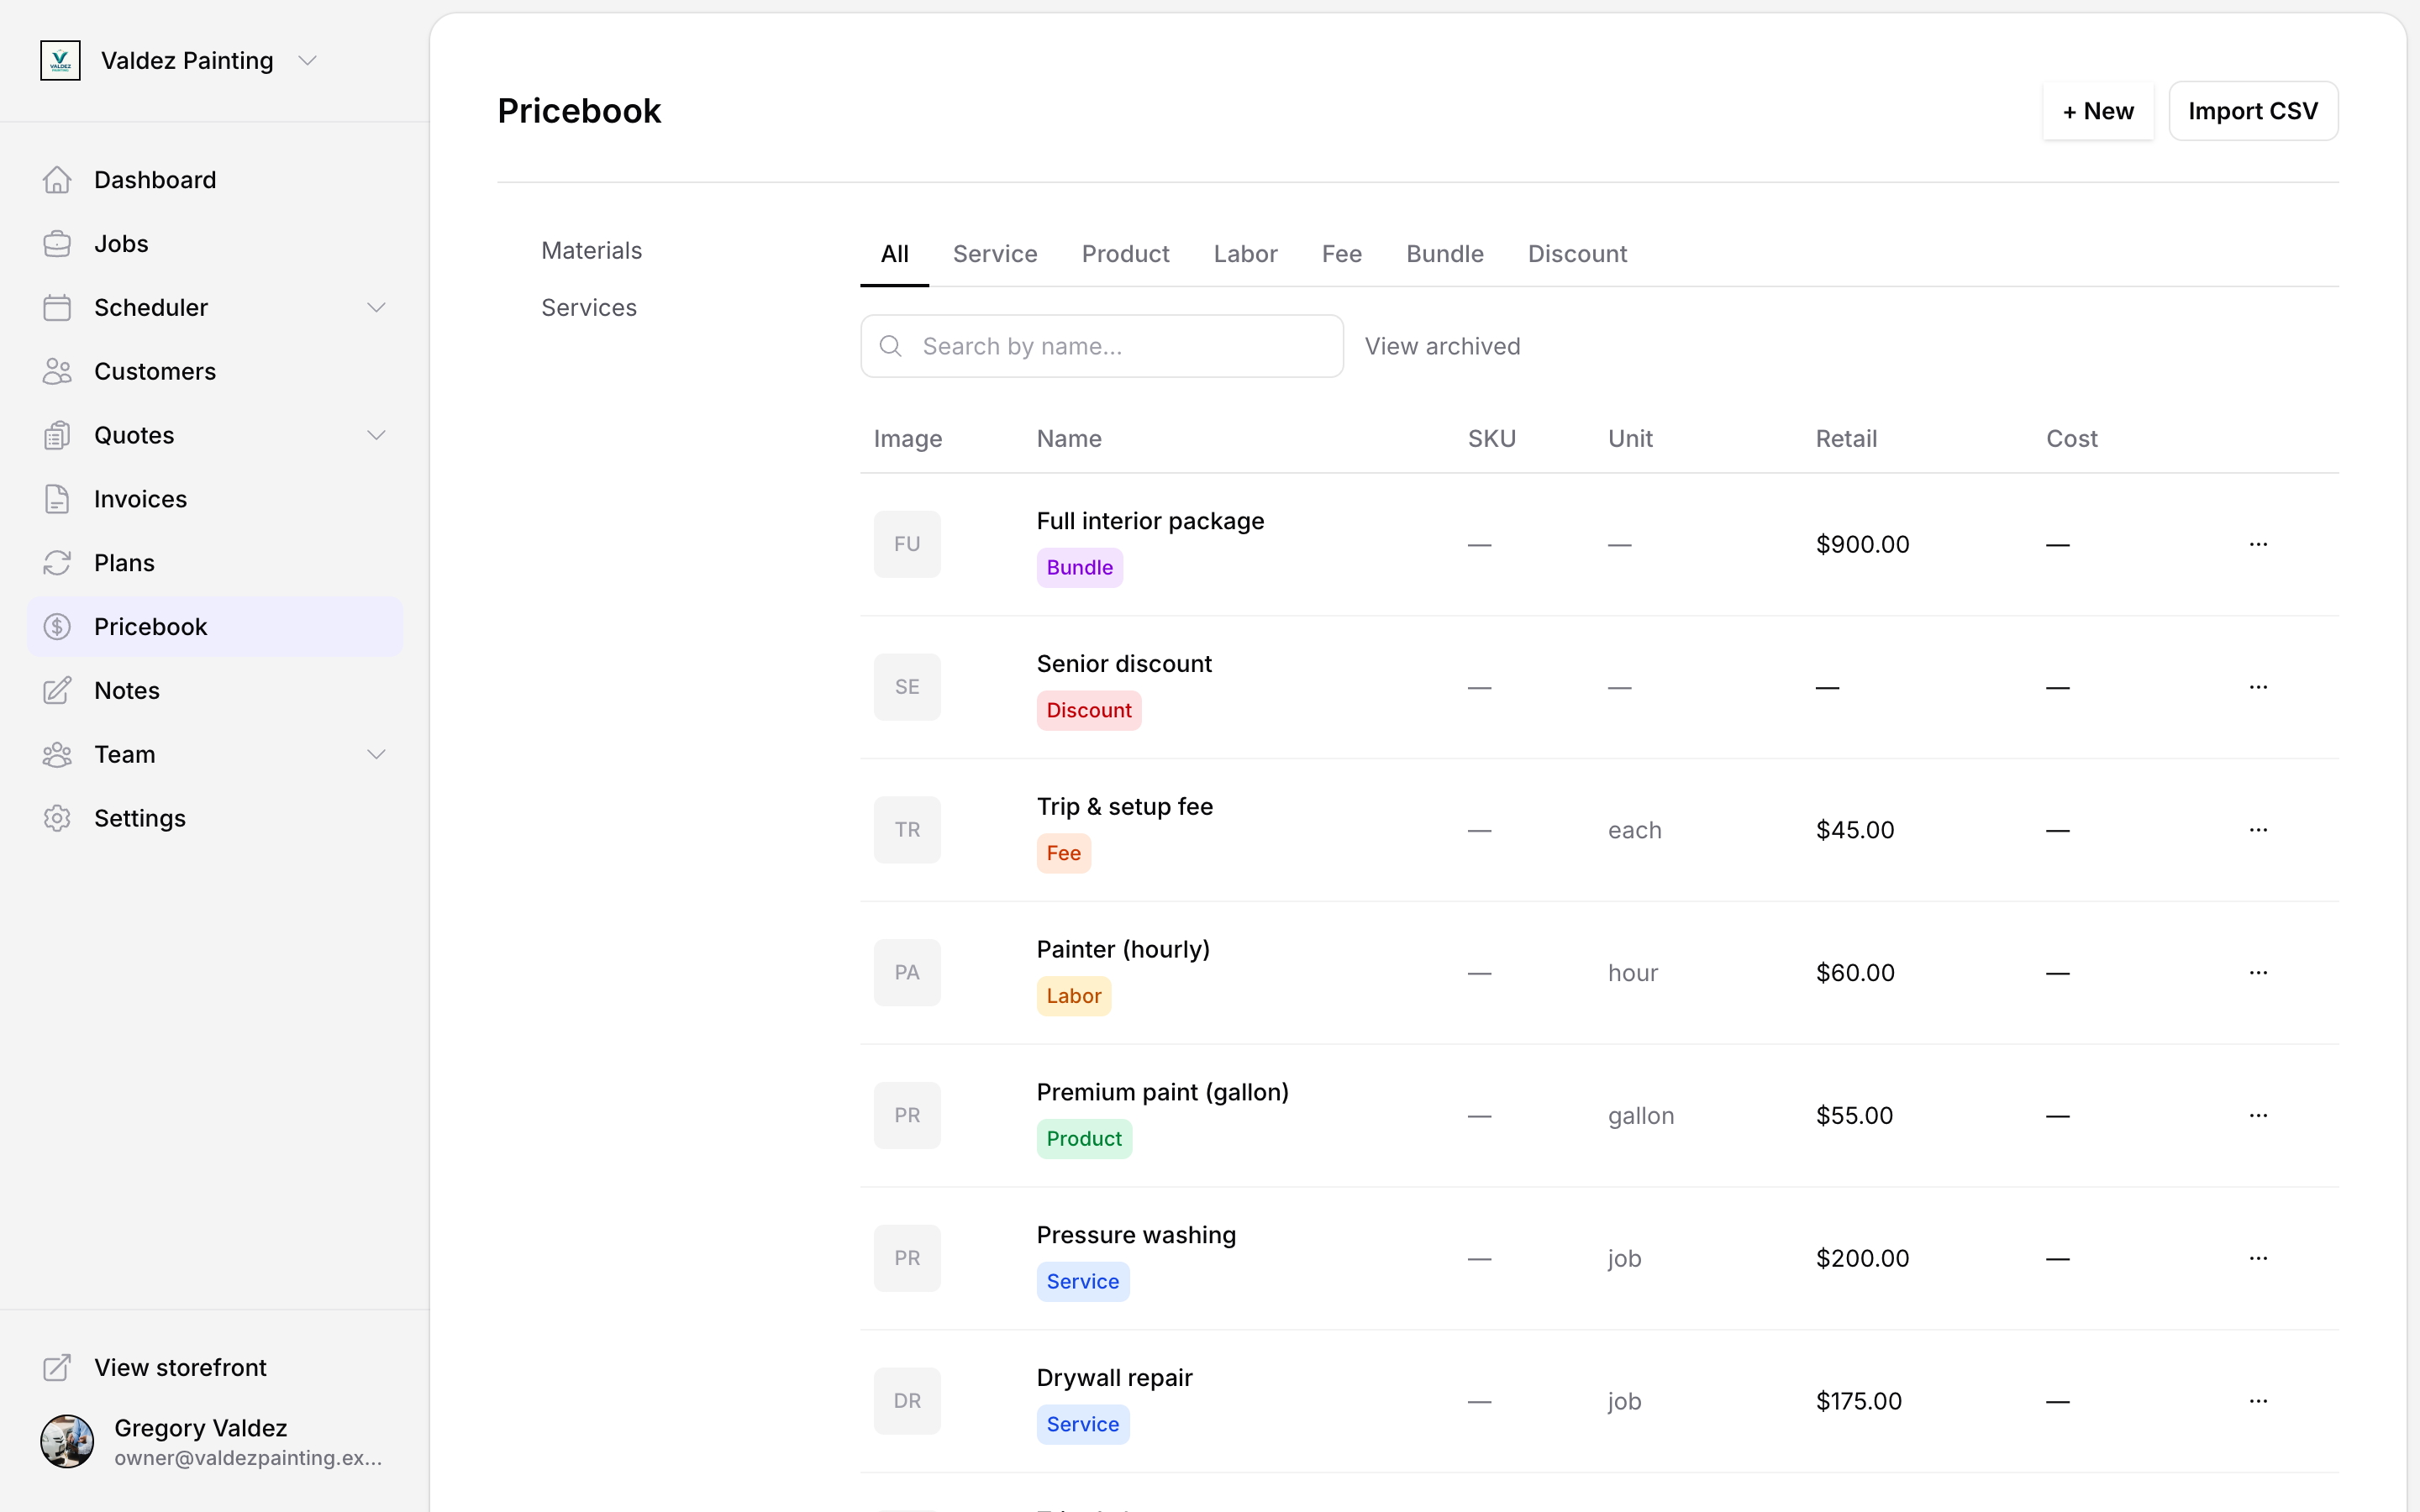
Your pricebook is your list of everything you sell or charge for — services, parts, fees, and discounts. When you build a quote or invoice, you pick items from this list instead of typing prices from scratch each time. Set it up once and it saves you time on every job.
Item kinds
Every item has a kind — a category that tells Zoop how the item works (flat fee, hourly rate, physical product, and so on). Pick the right kind when you create the item, because you cannot change it later.
| Kind | Use it for |
|---|---|
| Service | Work you perform — drain cleaning, lawn cut, HVAC tune-up |
| Product | Physical parts or materials you supply — a filter, a valve, mulch |
| Labor | Billable time at an hourly or day rate |
| Fee | Fixed charges — fuel surcharge, disposal fee, permit fee |
| Bundle | A packaged group of other items sold together at one price |
| Discount | A percentage or flat-dollar reduction applied to a quote or invoice |
Add an item
Go to Pricebook in the left sidebar and select + New in the top right corner.
Fill in the fields:
- Name — what the customer sees on their quote or invoice.
- Kind — choose from the table above. You cannot change this later.
- SKU — optional. A short code you make up (like
DRAIN-1orFILTER-A). Useful if you import items from a spreadsheet, because Zoop uses it to match rows to existing items. - Description — optional notes about the item.
- Category — groups items so they are easier to find. Type a new category name and select + Add to create one on the spot.
- Unit label — how the item is priced (for example: per visit, per hour, each, per sqft). Not shown for discounts.
- Retail price — the price the customer sees and pays.
If you are an owner, you also see two additional pricing fields:
- Cost — what you pay for the item (your own reference, not shown to customers).
- Markup % — your margin over cost.
Fill in any two of cost, markup, and retail price and Zoop calculates the third for you automatically.
Select Create item to save.
Add a photo
On any item form you can attach a photo — useful for products or anything where a visual helps. Select the image area to pick a file, or drag one onto it. Photos appear as thumbnails in the pricebook list.
Item photos stay in the pricebook only. They do not carry over to quotes and invoices — the customer sees the item's description, quantity, unit price, and total.
If the photo upload fails after the item saves, Zoop will warn you. You can retry from the item's edit page.
Products: supplier info
For product items, owners can also record a Supplier URL (a link to where you order the part) and a Supplier SKU (the supplier's part number). Both fields are internal — customers never see them.
Bundles
A bundle groups existing items and sells them as one packaged price. For example, you might bundle a service call, a part, and labor into a single line item on the quote.
After choosing kind Bundle, select + Add component to pick the items to include (services, products, labor, or fees). Set the quantity for each component. Drag components to reorder them.
Optionally set a flat package price. Zoop will then show how much the customer saves compared to buying the components individually.
Discounts
For a discount item, choose a type:
- Percentage (%) — takes a percentage off the subtotal (for example, 10% off).
- Flat amount ($) — takes a fixed dollar amount off the subtotal (for example, $25 off).
Enter the value. Once created, a discount shows up as a line item you can add to any quote or invoice.
Edit an item
From the pricebook list, select the item name to open it, or select the … icon at the right end of the row and choose Edit.
You can update any field except kind — that is locked when the item is created.
Price history
Owners can see a full log of every change to an item's cost, markup, and retail price — what it was, what it changed to, and when. Scroll to the bottom of the item's edit page to find it.
Duplicate an item
Select the … icon on the row and choose Duplicate. Zoop creates a copy named "Copy of [item name]" with the SKU cleared so you can assign a new one. You land on the edit page for the copy, ready to make changes.
Archive and restore
Archiving hides an item from your active list and from the picker when building quotes and invoices. It does not delete anything — existing quotes and invoices that already use the item are not affected. You can always restore it later.
To archive an item, select the … icon on the row and choose Archive.
To see archived items, select View archived above the list. To bring one back, select the … icon on the row and choose Restore.
Search and filter
At the top of the pricebook list, use the search bar to find items by name. Select a kind tab (All, Service, Product, Labor, Fee, Bundle, Discount) to filter by kind. Select a category in the left sidebar to filter by category.
These filters work together — you can search by name, narrow to a kind, and pick a category all at once.
Categories
Categories group items so you can find them faster — for example, Electrical, Plumbing, or HVAC. Selecting a category in the sidebar shows only items in that category and any subcategories beneath it.
To manage categories, go to Pricebook and select the Categories tab. From there you can:
- Add a root category or a child (nested) category. Drag items in the tree to set the nesting order.
- Rename a category by selecting its name in the list.
- Move a category by dragging it onto another category to make it a child.
- Delete a category. Items assigned to it become uncategorised, and any child categories move up to the deleted category's parent level.
Import from CSV
If you have a spreadsheet of items — from a previous system or built in Excel — you can import them all at once instead of adding each one by hand. Only owners can run an import.
Open the import wizard
From the pricebook list, select Import CSV in the top right.
Upload your file
Drag your CSV file onto the upload area, or select Browse files. The file must be in CSV format (.csv) and under 20 MB.
Three columns are required in your file: Name, Kind, and Retail Price. Everything else is optional.
Optional columns you can include:
| Column | Notes |
|---|---|
| description | Item description |
| sku | Stock-keeping unit. Used to match rows when updating existing items. |
| unit | Unit label (e.g. per visit, each) |
| cost | Your cost — visible to owners only |
| markup_pct | Markup percentage |
| discount_type | percentage or flat — required when kind is discount |
| discount_value | The discount amount |
| category_name | Category to assign the item to. Created automatically if it does not exist. |
| supplier_url | Supplier link — products only |
| supplier_sku | Supplier part number — products only |
Map your columns
Zoop reads your column headers and suggests which Zoop field each one maps to. Each column from your file is shown on the left; the Zoop field it maps to is on the right. Adjust anything that looks wrong. Any column you do not want to import can be set to Skip.
A preview of the first three rows appears below the mapping so you can check it looks right before continuing.
Choose an import mode
- Create only — adds new items. If a row's SKU already matches an existing item, that row is skipped.
- Create or update — adds new items and updates existing ones matched by SKU. Rows with no SKU are always created as new.
Review and import
Check the row count and your settings, then select Import. Zoop processes all rows and shows you a summary of how many were created, updated, or skipped.
If any rows were skipped, you can download a CSV of the errors to see exactly which rows failed and why.
discount, the discount_type column is required. Rows missing it are skipped.Related pages
- Quotes — add pricebook items to a quote as line items.
- Invoices — add pricebook items to an invoice.
- API: catalog items — manage items programmatically.
- API: catalog categories — manage categories via the API.