Calendar
See your schedule by day, week, or month and manage events around your jobs.
The calendar shows all your scheduled jobs and events in one place. Switch between day, week, month, or list views using the buttons at the top of the page. You can bookmark a specific week or share a view with a coworker — the view is saved in the page address.
Views
Use the Day / Week / Month / List switcher in the toolbar to change how you see your schedule.
- Day — a vertical hour-by-hour grid from 5 am to 10 pm. Owner and office roles see per-tech lanes side by side. Technicians see a single "Your day" lane scoped to their own assignments.
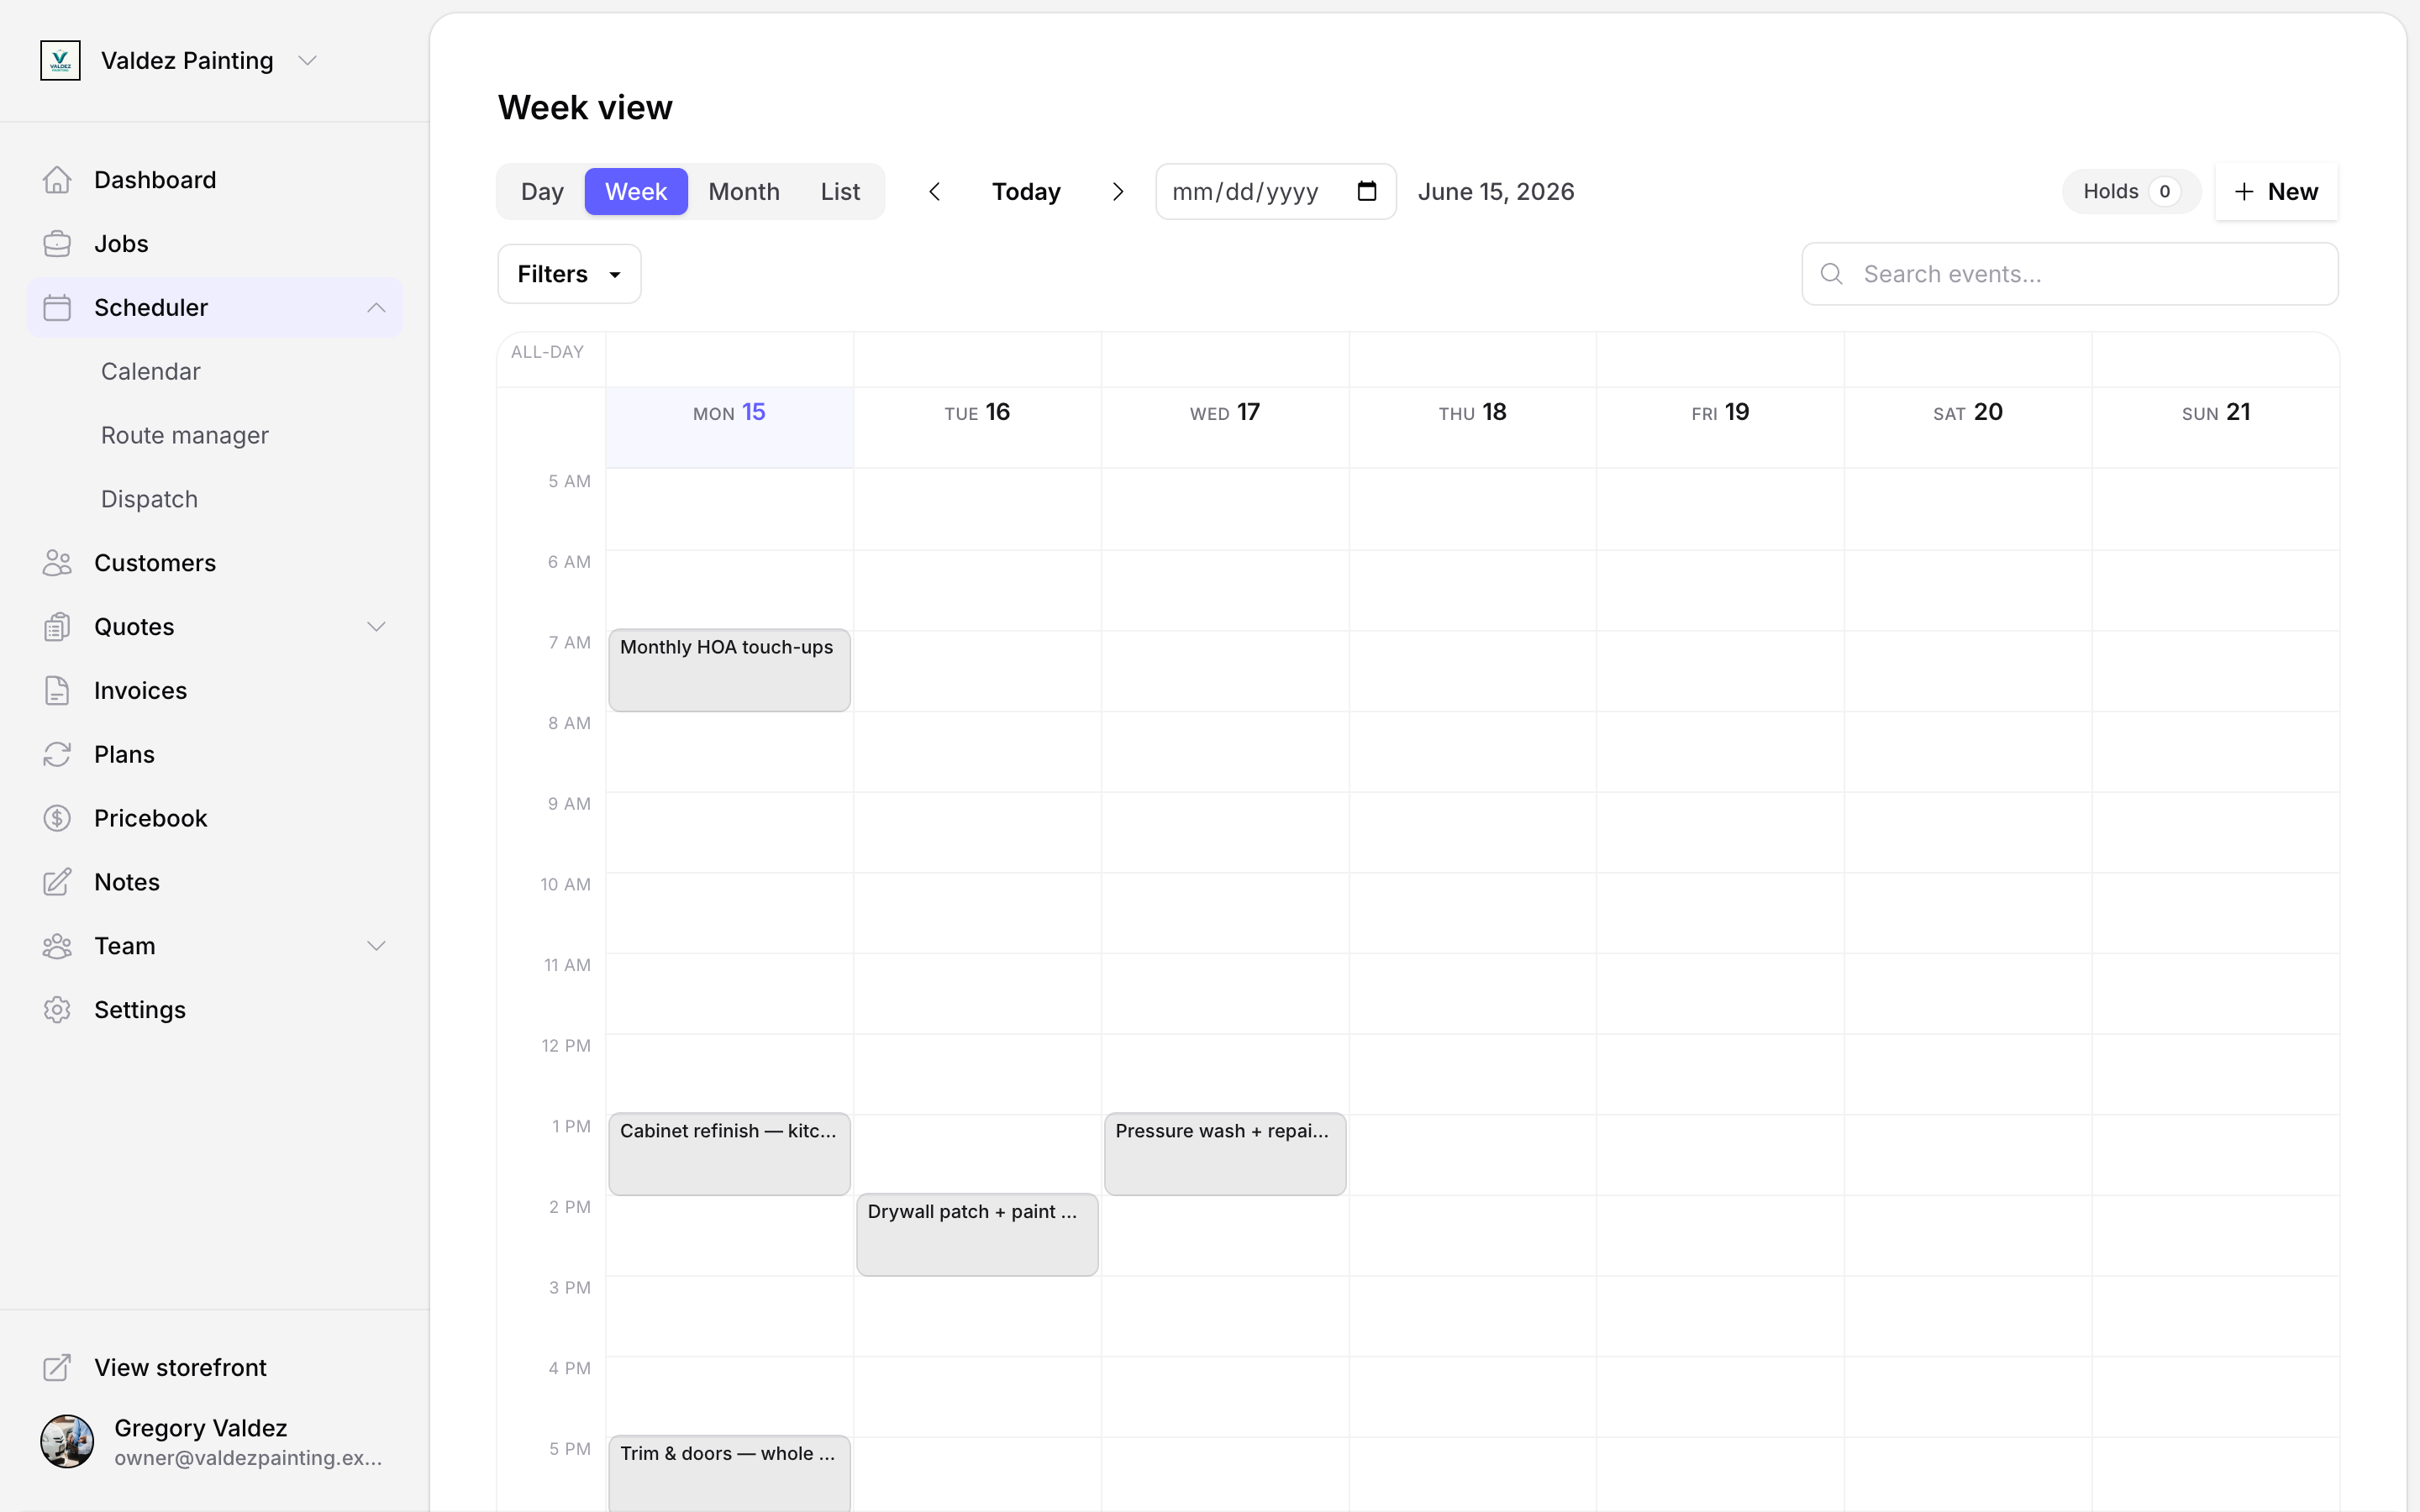
- Week — seven day columns (Monday through Sunday) with the same 5 am–10 pm time axis. All-day events appear in a row above the timed grid. This is the default view when you open the calendar.
- Month — a full calendar grid. Each cell shows up to three event chips; tap a cell to drill into the day view for that date.
- List — a flat chronological list of everything in the current window, grouped by day with section headers ("Today", "Tomorrow", and then short date labels). Useful on a small screen or when you want to scan a range quickly.
Navigating dates
Use the ◀ and ▶ arrows to step backward or forward one day, week, or month (whichever view you're in). Select Today to jump back to the current date. You can also pick any date directly from the date picker next to the arrows.
Jobs on the calendar
Scheduled jobs appear automatically — you do not add them manually here. A job chip on the calendar opens the job detail page. To change a job's scheduled time, go to jobs or use dispatch.
Creating an event
Events are non-job calendar entries: meetings, time blocks, personal time, or anything else you want to track.
Open the new event form
Select New in the top-right corner of the calendar. On mobile, tap the floating + button to open the quick-add sheet.
Choose a kind
Set the event kind: Meeting, Block, Personal, or Other. The kind controls the color chip on the grid (meeting = blue, block = zinc, personal = emerald, other = amber).
Fill in the details
Enter a title (required), start time, and end time. Optionally add notes, a location, and whether the event is all-day.
Assign team members
Pick at least one assignee. The event will appear in their view of the calendar.
Save
Select Save. The calendar refreshes and the event appears in the grid.
Event kinds
| Kind | When to use |
|---|---|
| Meeting | Customer calls, supplier meetings, team check-ins |
| Block | Time you're unavailable for new work (waiting on a part, admin time) |
| Personal | Days off, appointments outside work |
| Other | Anything that doesn't fit the above |
Recurring events
When creating or editing an event, turn on recurrence to repeat it on a schedule. Choose how often it repeats — daily, weekly, monthly, or a custom interval — and set the timezone and duration in minutes.
When you edit an event that belongs to a series, Zoop asks where to apply the change under Apply changes to:
- Just this occurrence — only this date changes; the others stay as-is.
- This and future occurrences — splits the series at this date; everything from here forward follows the new settings.
- All occurrences — updates the whole series template.
Editing an event
Tap an event chip in any view to open the edit form with the same fields available at creation. Jobs open the job detail page instead and cannot be edited from the calendar form.
Filtering the calendar
Select Filters in the toolbar to narrow down what you see:
- Assignees (owner and office roles only) — show only the team members you select.
- Crews (owner and office roles only) — show only the crews you select.
- Kinds — show only the event types you select (meeting, block, personal, other). Filtering by kind hides jobs, since jobs are not part of the event-kind taxonomy.
You can also use the search field to find events by title. Results update as you type.
A badge on the Filters button shows how many filters are active. Technicians only see the kind filter — Zoop already limits their view to their own assignments.
Booking holds
When a customer picks a time on your storefront but you haven't confirmed it yet, that's a hold. If you're an owner or office user, you'll see a Holds button in the top-right corner of the calendar with a count of pending requests. Select Holds to open the inbox and accept or decline each one.
Business hours
Your business hours control which time slots the storefront shows to customers. The default is Monday through Friday, 8:00 am to 5:00 pm. Saturday and Sunday are off by default.
To change your hours, go to settings. Hours are stored per day of the week with an open and close time in your account timezone. Customers will only see slots that fall inside your open hours.
Sync to Apple Calendar, Google Calendar, or Outlook
You can subscribe to your Zoop schedule in Apple Calendar, Google Calendar, Outlook, or any calendar app that accepts a subscription link.
Go to account settings
Navigate to settings and find the Calendar feed section.
Generate the feed URL
Select Generate feed URL. Zoop creates a private link just for your calendar.
Copy the URL
Copy the link shown. Save it somewhere safe — if you lose it, you can generate a new one with Rotate token, but any app using the old link will stop syncing until you re-add it.
Add it to your calendar app
Paste the link as a calendar subscription in your app of choice. Your schedule will sync automatically.
To remove access entirely, select Revoke in the calendar feed section. This deactivates the feed — nothing outside Zoop will be able to see your schedule.
Related
- Dispatch — move and assign jobs across your team
- Jobs — view and edit scheduled job details
- Recurring jobs — set up jobs that repeat on a schedule