Get set up
Sign in, set up your business, and connect payments so you can start booking jobs.
This page walks you through everything you need to do before your first job: create an account, tell Zoop about your business, and connect payments. The whole thing takes around ten minutes.
Create your account
Go to app.zoop.mom and choose how you want to sign in.
Select Continue with Google and pick your Google account. No password needed — Google signs you in automatically.
Select Sign up from the sign-in page, enter your email address and a password, then select Create account. Zoop sends you a confirmation email — open it and select the link to activate your account.
Name your company and pick your trade
After signing in for the first time, Zoop asks you two quick things:
- Company name — what your business is called (for example, "Mike's Plumbing"). You can change this any time in Settings.
- What kind of work do you do? — pick the trade that fits best: plumbing, HVAC, electrical, landscaping, cleaning, roofing, general, garage door, pest control, or other. This sets defaults throughout Zoop.
Select Get started when you're done.
If someone invited you to join an existing Zoop account, you'll see a pending invitation here. Accept it instead of creating a new company.
Fill in your business profile
Open Settings (bottom of the left sidebar) and select the Business info tab. Fill in:
- Company logo — shown on your storefront, invoices, and customer messages.
- Tagline — a short description of your business (up to 255 characters).
- Trade types — you can select more than one if you do multiple kinds of work.
- Contact information — business phone, email, and website.
- Business address — your base location. Start typing and select from the suggestions.
- Brand color — used on your customer-facing storefront.
Select Save changes when you're done.
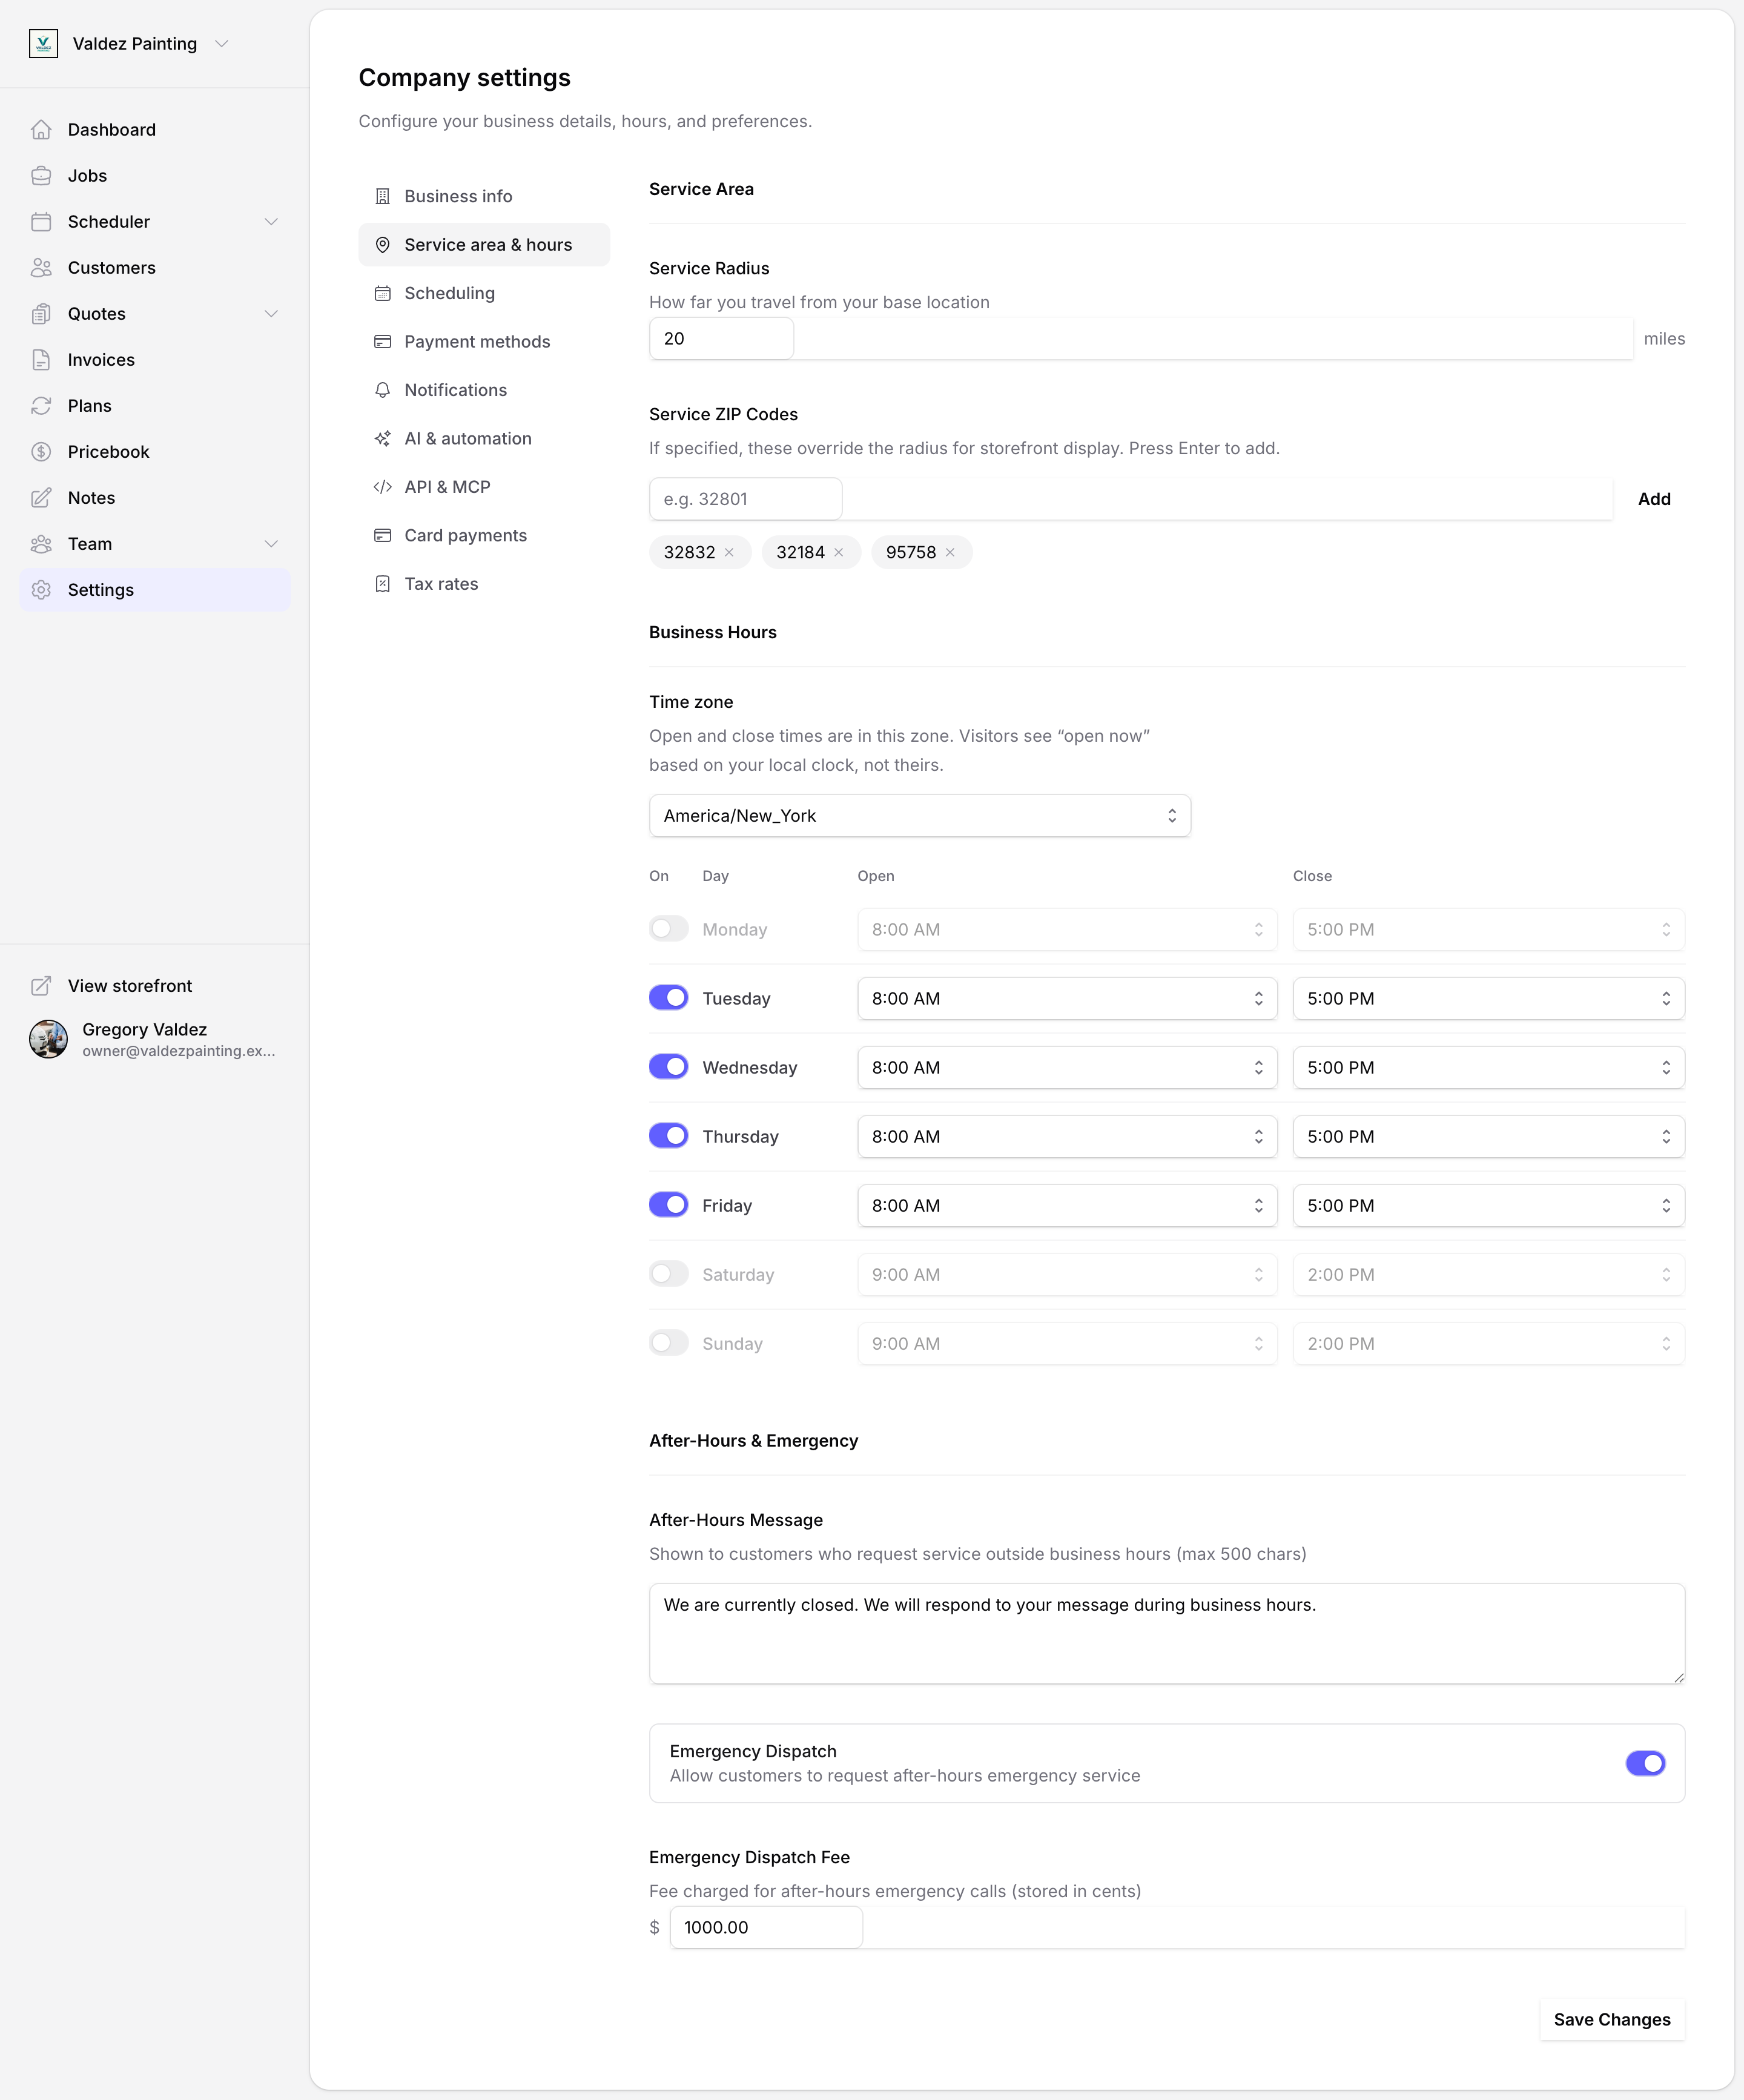
Set your service area and hours
In Settings, select the Service area & hours tab.
Service area
- Service radius — how far you travel from your base location, in miles (1–200).
- Service ZIP codes — optional. Type a ZIP code and press Enter to add it. When you add ZIP codes, Zoop shows those instead of the radius on your customer-facing storefront.
Business hours
- Set your time zone first. Zoop shows your open and close times to customers in your time zone.
- Toggle each day on or off, then set your open and close times. Times go from 6:00 AM to 10:00 PM in 30-minute steps.
After-hours and emergency
- After-hours message — what customers see when they request service outside your hours (up to 500 characters).
- Emergency dispatch — turn this on if you want to take after-hours emergency calls. You can set an emergency dispatch fee once it's enabled.
Select Save changes when you're done.
Connect payments
Zoop uses Stripe to process card payments. Stripe is a payment service that holds your money until it's deposited into your bank account — you set it up once, and Zoop handles the rest.
In Settings, select Card payments from the left nav.
Select Set up payments. Zoop opens a Stripe form — fill in your business details and bank account information. This takes around five minutes.
When you're done, come back to Zoop. Your payment status updates automatically. You'll see a green Active badge once your account is fully enabled.
If you see "Action needed" or "Setup in progress," Stripe still needs more information from you. Select Finish on Stripe to continue. If you've already finished on Stripe but the status hasn't changed, select Refresh status.
Offline payment instructions
If some customers pay by check, Zelle, or another method, add instructions in the Offline payment instructions box on the same page. This text shows up on your invoices alongside the online payment link.
For more on how payments work — including how customers pay invoices and how payouts reach your bank — see Payments.
What's next
Once you're set up, you're ready to add customers and start booking jobs.