Your storefront
Give customers a public page to learn about you and book online.
Your storefront is a public web page Zoop hosts for your business. Think of it as your business's front door on the web — customers can find your contact info, see what trades you cover, check your hours, and — if you turn it on — request a booking without calling you first.
You control when it goes live. The page stays private until you choose to publish it, so you can set everything up first and go live when you're ready.
What appears on your storefront
Every section is driven by what you fill in under Settings. Nothing is invented — the page only shows what you've saved.
| Section | What it shows |
|---|---|
| Hero | Your logo, company name, tagline, trade badges, phone, email, and website link |
| What we do | One card per trade type you've selected, with a short description |
| Book a visit | The online booking widget (if enabled) |
| Service area | Either a radius ("Serving 25 miles around Austin, TX") or a list of ZIP codes |
| Contact | Phone, email, website, and business address |
| Business hours | Your weekly schedule with an "Open now" or "Closed" badge |
Set up your storefront
Fill in your business info
Go to Settings and open the Business tab. Add your company name, logo, tagline, phone, email, website, and address. These fields feed directly into the hero and contact sections of your storefront.
Choose your trade types
Still on the Business tab, select every trade that applies to your work — plumbing, HVAC, electrical, landscaping, cleaning, roofing, general contractor, garage door, or pest control. Each trade you pick shows up as a card in the "What we do" section.
Set your service area
Open the Service area tab. Choose one of two modes:
- Radius — enter a number of miles from your city/state. Your storefront will show "Serving X miles around [city, state]."
- ZIP codes — list the specific ZIP codes you cover. Up to 50 ZIP codes are accepted; the storefront displays the first six with an overflow count for the rest.
If you set both, ZIP codes take priority.
Add your business hours
Still on the Service area tab — scroll down to the hours section. Enter your open and close times for each day of the week, and mark any days you're closed. The storefront shows these hours and automatically displays an "Open now" or "Closed" badge based on your time zone.
Publish
Back on the Business tab, scroll down to the publish toggle and turn it on. Until you do this, the page shows an error to anyone else who visits it — only you can see a preview.
Online booking widget
The booking widget lets customers pick a time slot and leave their contact details without calling you. Nothing is booked automatically — you review every request and confirm or decline it from your Zoop dashboard.
The widget shows available slots for the next 14 days only. Slots outside your business hours are hidden. Slots that overlap with existing jobs or other holds are shown but marked unavailable.
How it works for your customer
Find a time
The customer taps "Find a time" on your storefront. Zoop loads your available slots for the next 14 days.
Pick a slot
The customer picks a time from the grid. Slots during your business hours that aren't already taken appear as selectable. Taken slots are visible but not clickable.
Enter contact info
The customer fills in their name, email or phone (at least one is required), an optional service address, and any notes. They tap "Request this time."
Slot is held
Zoop temporarily holds that slot and shows the customer a confirmation: "We'll confirm within [your hold expiry]." The slot stays reserved while you review — once you confirm or the hold expires, it's released.
Turn on the widget
Go to Settings, open the Scheduling tab, scroll to the Online booking section, and flip the "Enable booking widget" switch.
Configure slot length and hold expiry
Two settings control how the widget behaves:
Slot length — the time block shown to customers when they pick a time. Options: 30 min, 45 min, 1 hr, 1.5 hr, 2 hr.
Hold expiry — how long Zoop reserves the slot before it expires if you don't confirm. Options: 4 hours, 12 hours, 24 hours, 48 hours, 72 hours. The customer sees this number in their confirmation message.
Both settings are on the Scheduling tab under Online booking.
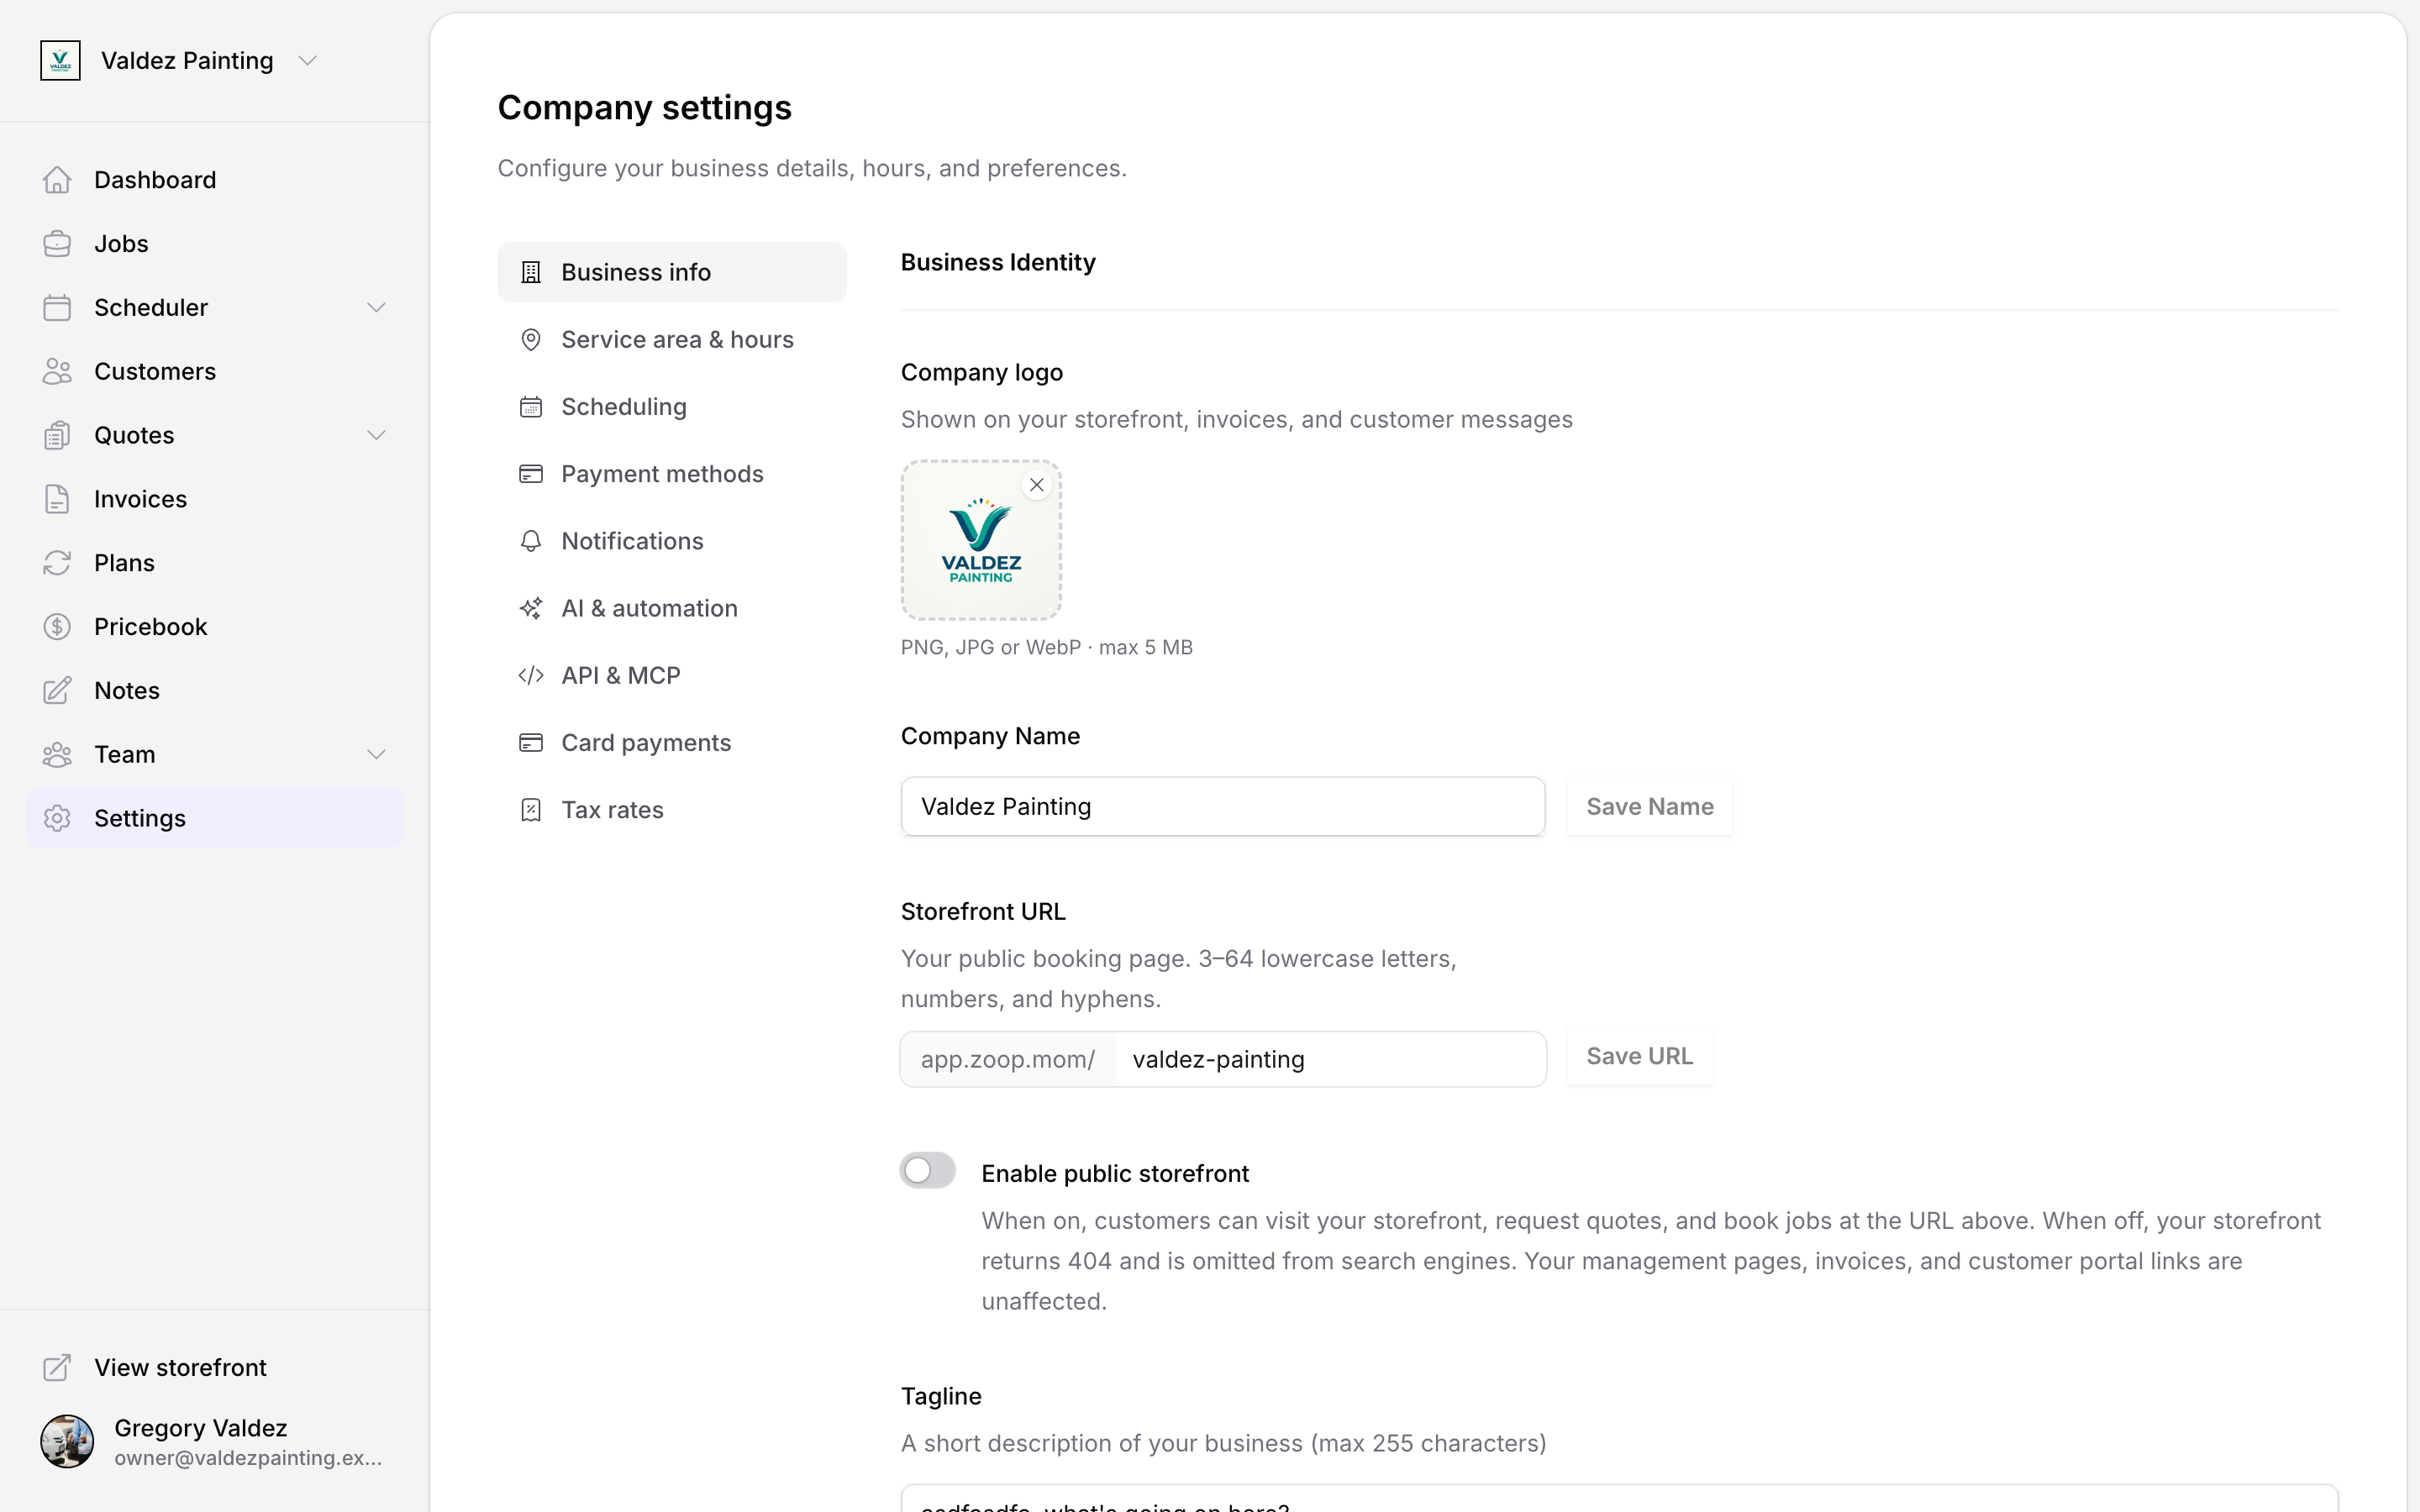
Your storefront URL
Your storefront lives at a Zoop web address. By default it includes a random ID, but you can set a custom name (for example, /acme-plumbing) on the Business settings tab. The field is labeled Storefront URL. Once you save a custom name, anyone visiting your old address is automatically sent to the new one.
Search engines and link previews
Zoop automatically handles the behind-the-scenes tags that help customers find you:
- A page title built from your company name, trade types, and city/state.
- A short description for search results — pulled from your tagline, or auto-built from your trades, location, and phone number if you haven't set one.
- Preview tags so your link shows a proper image and summary when someone shares it in a text or on social media.
- A structured data block that tells Google what kind of business you are, your hours, service area, and contact details — which can improve how you appear in local search results.
None of this requires any action from you. It's all built from the business info and settings you've already filled in.
Related
- Settings — where all storefront content is configured
- Calendar — booking holds appear on your calendar
- Customer portal — the self-service page customers reach from invoices and receipts