Quickstart
Create an API key and make your first MCP call in a few minutes.
This guide walks you through getting an API key and sending your first two requests to the Zoop MCP server — a tools/list to confirm the connection works, then a customers.search call to fetch real data.
What you need: a Zoop account with owner-level access and a terminal with curl.
Base URL: every example uses https://app.zoop.example as a placeholder. Replace it with your actual Zoop URL. If you are unsure what that is, fetch GET /.well-known/oauth-protected-resource — the resource field is the canonical base URL for your environment.
Background: what the MCP server is
Zoop exposes a Model Context Protocol (MCP) server at POST /api/mcp. MCP is an open standard for letting AI agents and tools talk to services like Zoop. Under the hood it uses JSON-RPC 2.0 — a convention where every request is a JSON object with four fields (jsonrpc, id, method, params) and every response is a JSON object with either a result or an error.
You do not need to know the full spec to follow this guide — the examples below are complete, copy-paste calls.
Step 1: create an API key
Open settings
In Zoop, go to Settings → API & MCP. You need owner role to reach this page.
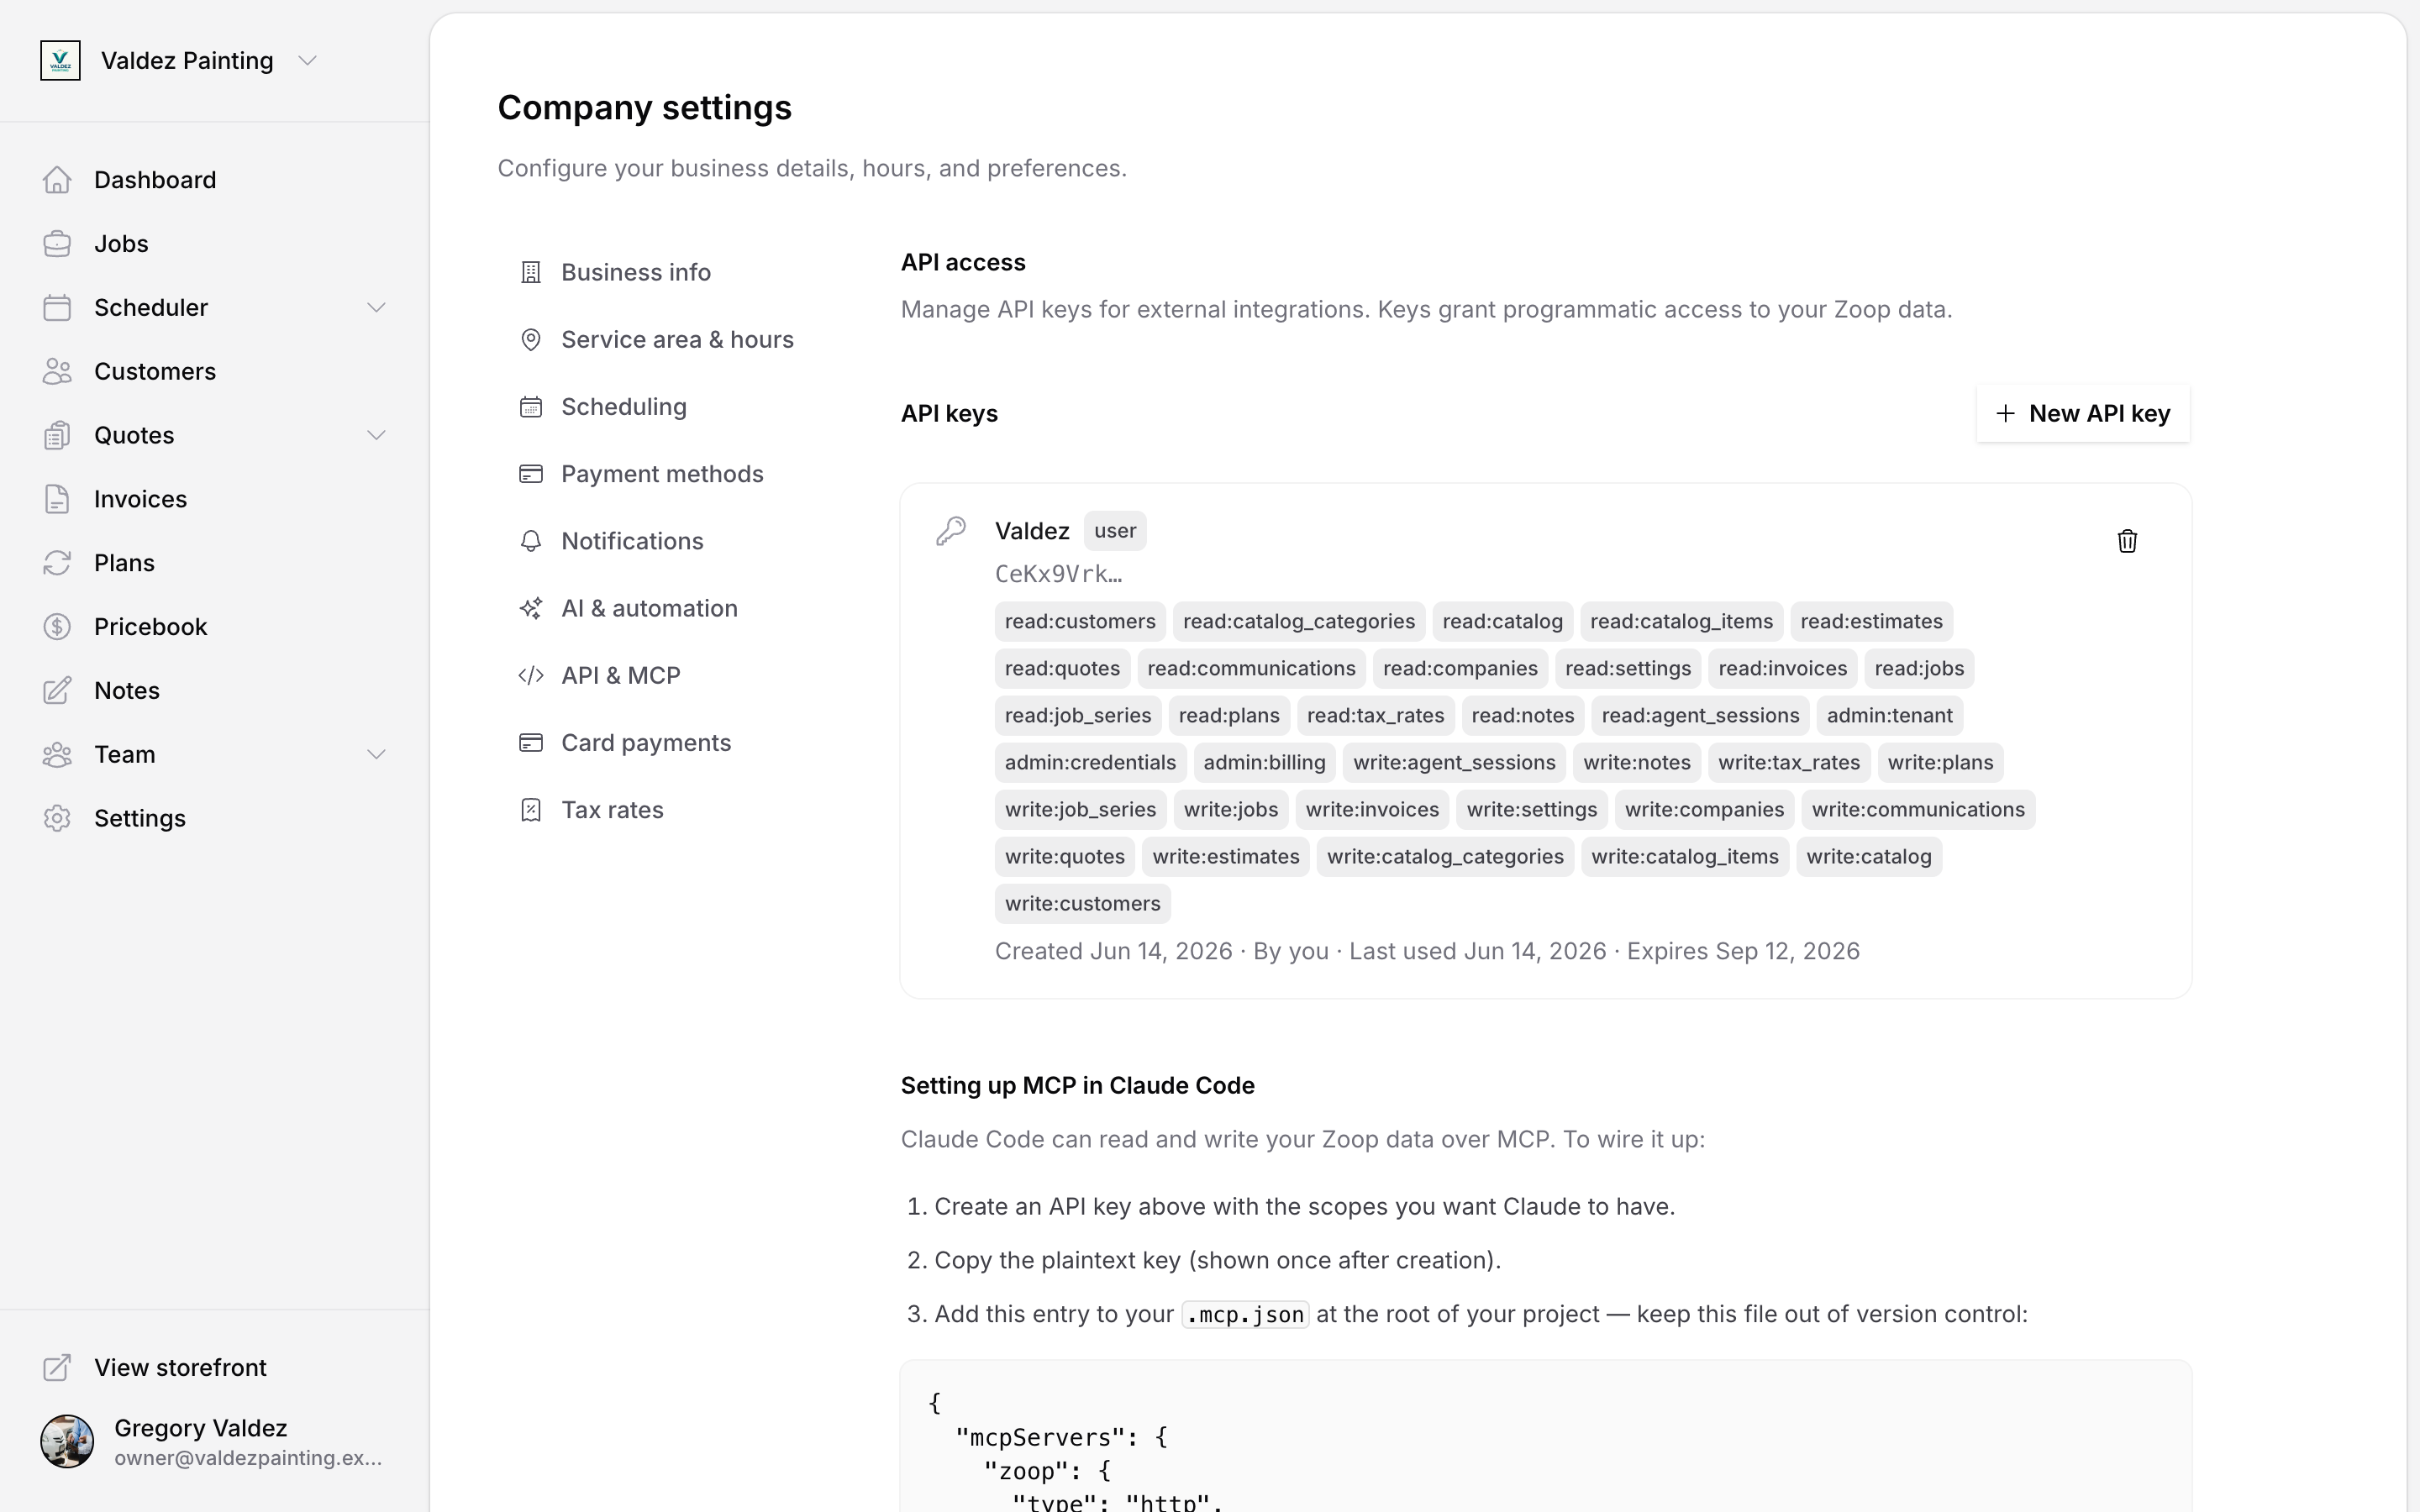
Create a user key
Click New API key. When prompted for the key type, choose User key — these have the prefix zoop_uk_. A user key carries your identity, which Zoop uses to record who created or updated a record (the created_by / updated_by fields). A tenant key (zoop_tk_) works for read-only tools and some write tools, but cannot call any tool that stamps a user actor on the record.
Next, select scopes — scopes are permissions that control which tools your key can call. For this guide, enable at least read:customers.
Copy the key immediately
The key is shown once in plain text. Zoop only stores a hashed version — if you close the dialog without copying the key, you will need to revoke it and create a new one.
Store it in an environment variable rather than pasting it directly into source code:
export ZOOP_API_KEY="zoop_uk_<the rest of your key>"
Step 2: confirm the connection with tools/list
tools/list is a built-in MCP method that returns every tool your key has permission to call. It is a safe first call because it does not read or write any of your data — it just proves your key is valid and the server is reachable.
Send the request with curl:
curl -X POST https://app.zoop.example/api/mcp \
  -H "Authorization: Bearer $ZOOP_API_KEY" \
  -H "Content-Type: application/json" \
  -H "Accept: application/json, text/event-stream" \
  -d '{"jsonrpc":"2.0","id":1,"method":"tools/list","params":{}}'
What the headers do:
Authorization: Bearer $ZOOP_API_KEY— sends your API key as the credential. There is no separate login step; Zoop reads the key directly from this header.Content-Type: application/json— tells the server the request body is JSON.Accept: application/json, text/event-stream— the MCP server uses a streamable HTTP transport; this header is required or the server will reject the request.
A successful response looks like this (truncated):
{
  "jsonrpc": "2.0",
  "id": 1,
  "result": {
    "tools": [
      {
        "name": "customers.search",
        "description": "Search customers by name, phone, tag, or status."
      }
    ]
  }
}
If you see a 401 error, the key is invalid, expired, or revoked. The most common cause is a missing prefix — make sure you copied the full key including zoop_uk_. Also confirm the environment variable is set in the same shell session where you are running curl. See errors for the full error shape.
Step 3: search for a customer
Now call an actual Zoop tool. customers.search lets you look up customers by name, phone, tag, or status. It requires the read:customers scope you enabled in step 1.
To call any tool, set method to tools/call and put the tool name and its arguments in params:
curl -X POST https://app.zoop.example/api/mcp \
  -H "Authorization: Bearer $ZOOP_API_KEY" \
  -H "Content-Type: application/json" \
  -H "Accept: application/json, text/event-stream" \
  -d '{
    "jsonrpc": "2.0",
    "id": 2,
    "method": "tools/call",
    "params": {
      "name": "customers.search",
      "arguments": {
        "q": "Henderson"
      }
    }
  }'
A successful response returns a list of matching customers plus a pagination cursor:
{
  "jsonrpc": "2.0",
  "id": 2,
  "result": {
    "content": [
      {
        "type": "text",
        "text": "{"rows":[{"id":"<uuid>","display_name":"Henderson, Sarah","customer_type":"individual","status":"active"}],"hasMore":false}"
      }
    ]
  }
}
The content[0].text field is a JSON string — you need to parse it to get the structured data. Inside it, rows holds the matching customers. If hasMore is true, there are more results on the next page; pass the value of nextCursor as cursor in your next call to continue paging.
If you get an insufficient_scope error, the key was created without the read:customers scope. You cannot add scopes to an existing key — revoke it, create a new one, and make sure to check read:customers during setup.